Showing posts with label Designers Calendar. Show all posts

Friday, April 1, 2011

April's Calendar

Well I was going to say April Showers bring May's Flowers but I don't have anything resembling rain for showers on my April CD Calendar.


I just love this background paper and decided the Doily was the perfect accent for my calendar mat. I didn't even glimmer mist it just glued it onto the mat then onto my calendar base. I added a flower pin and a ribbon bow to the side.
Thanks for stopping by.

Click here for the file. The file does include an umbrella for the background if you want to use that instead.
Recipe: DCWV Cardstock - black, white, green and red. Pattern Paper - Unknown (was a leftover scrap), small doily
Ink: Inkadinkado - olive green
Cricut Cartridges: Designer Calendar, George, From My Kitchen
Misc: pop up dots, glue, pin, beads, ribbon

Tuesday, March 1, 2011

March CD Calendar

I decided I needed some bright spring colors for this month.


The little green flower is made from three shamrock, sprayed with glimmer mist then formed int a flower shape. I used my stickles to make the swirl bling. I copied one of the premade swirl blings and used a transparency to mark my dots, then transferred this to the calendar. At every dot I just used a little bit of stickles to make my bling.


I also added a little bit of bright green pom pom ribbon to the bottom of the calendar.
Thanks for stopping by.
Click here for the cut file.
Recipe:
Paper: DCWV cardstock - black, white, blue and green; Pattern Paper - Citrus Stack
Cricut Cartridges: Designers Calendar, George, From My Kitchen
Misc: adhesive, stickles

Tuesday, February 1, 2011

February CD Calendar

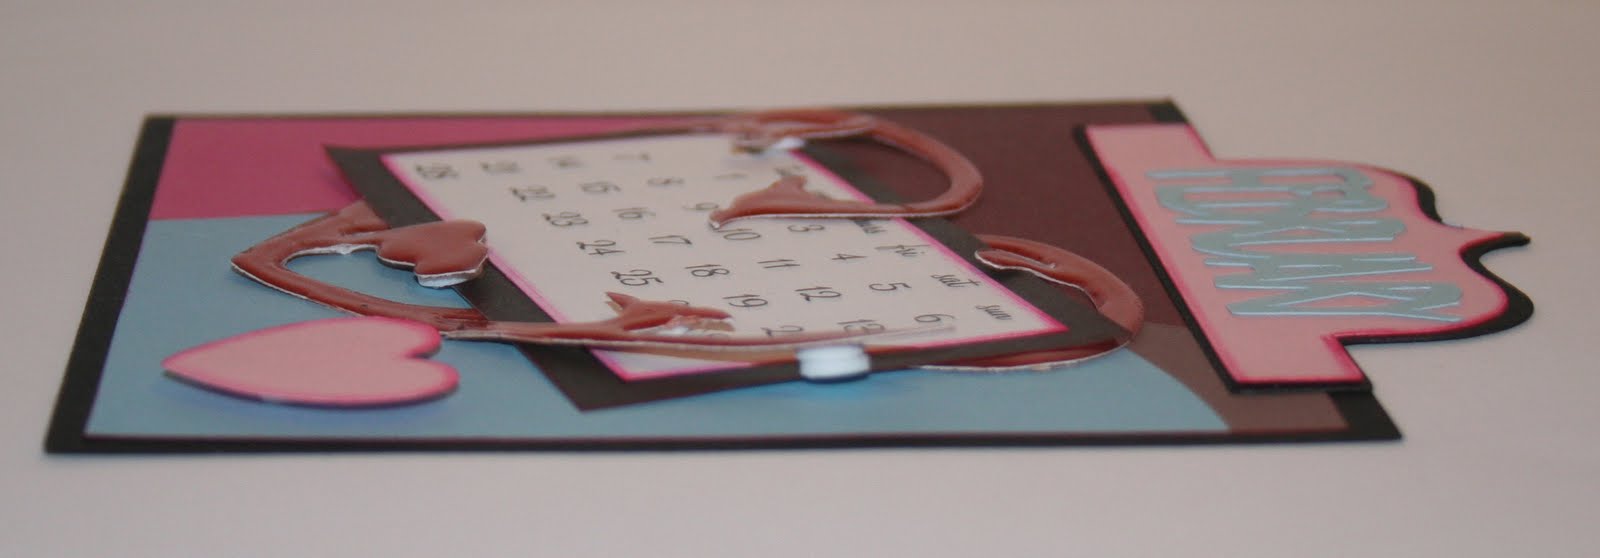
February -the month of Valentines. The big heart is from the Wedding cartridge. I cut it out, ran it though my Xyron then used glossy accents on it while it was till on the Xyron Paper. I actually paper clip the Xyron paper to a piece of cardstock to help keep it flat.


I used baby powder on the parts of the heart that are on top of my calendar, as I have pop up dots behind that part of the heart.

A side view of the project with the pop up dots.

Thanks for stopping by.


Click here for February's file.

Recipe:
Paper: DCWV Cardstock - black, white, pink, blue, red; Pattern Paper - Unknown
Ink: Stampin' Up - Melon Mambo
Cricut Cartridges: Designer Calendar, George, From My Kitchen, Wedding
Misc: pop up dots, glue, glossy accents, Xyon, baby powder

Monday, January 3, 2011

January CD Calendar

The ladies asked me if I was doing my CD calendars again as they would like a set. So here is the month of January just for them.
I glimmer misted the snowflake and attached it to the calendar base. I did not glue it down all the way because I liked the way the top and bottom curled up a bit - it just gives it a little bit more of dimension. I did have to fussy cut the light blue label as the Cricut cuts it in one piece.

There are pop dots between the mitten layers.

Thanks for stopping by.

Click here for January.


Recipe:
Glimmer Mist : Jazz Blue
Ink: VersaMagic - Red Magic
Cricut Cartridges: George, From My Kitchen, Designers Calendar
Paper: Cardstock - White, black, blue, red, pink Pattern Paper - Unknown

Tuesday, November 23, 2010

Warmest Wished - Day 23

I just love the ribbon attached to the mittens on this card. It reminds me of when the guys were little and puts a smile on my face. Now I used the Designers Calendar for the mittens but there are a lot of cartridges that have mittens on them.
I cut a small triangle to put behind the mittens so that the snowflake would be white. I did not glue the bottom edge of the mitten until I placed my ribbon.


I pop dotted the stocking cap and added a strip of pattern paper to the inside of the card.

Thanks for stopping by.

Click here for the cut file.

Recipe:
Paper: DCWV cardstock - white and pink; DCWV The Holiday Collection - The Christmas Stack
Cricut Cartridges: Designer's Calendar, George, Jasmine, Winter Woodland
Misc: glue, pop up dots, ribbon

Friday, November 5, 2010

Pumpkins

One of Scrapbook Heaven's October Monthly Challenge's is by Jules - Die cut paper.
I made my own die cut paper for this one using the Accent Essentials Cartridge. The top of the layout is on foam tape so that it is raised up from the background paper and photo mat. I then made a frame around the opening.


The flowers are from the 50 States cartridge, inked, rolled edges, and scrunched up. I used a large brad, clear embossed the head, and used a reddish brown embossing powder. The embossing powder is from a 12 pack from Michael's with no color names.


For each pumpkin I cut a green one and an orange one. I cut the top of the orange pumpkin, inked the edges and glued to the green pumpkin and inked again. I have glued one to the back page and two on the top page using foam tamp.


I am using parts of the wreath I took a part in this post, to weave through the flowers and pumpkins. I used my hot glue to hold this down.

Thanks for stopping by.
Click here for the cut file.

Recipe:

Paper: Martha Stewart Collection -Classic Woodland ;Cardstock - orange, green
Ink: Clear Embossing Ink, Inkadinkadoo - Coffee Bean
Punch: Martha Stewart - Arch Lattice
Misc: large brads, embossing powder, wreath pieces, pop up dots, foam tape, glue, hot glue