Showing posts with label Paper Dolls for Everyday. Show all posts

Sunday, April 7, 2024

A Little Dirt Never Hurt

 From my April Counterfeit Kit - Best Days I pulled the blue and yellow paper I did not know what pictures I was going to scrap. I added in blue cardstock for the background and cut a dump truck from the Everyday Paper Dolls in white. The dump trucks are cut at 3 1/2" and 2 1/2". 

 I colored them with Stampin' Up ink and a black marker and used foam tape for some dimension on the page. 


I matted my photos on the blue and yellow paper. It's hard to believe that this February of 2024, which is why Mr. D has his snow pants on, but it was a relative warn day for February.


I turned the layout landscape for the 8/ 1/2 layout, I used blue alphas for the title - Color Theory. They are really old, but I am trying to use them up.  Thanks for stopping by.

Tuesday, September 18, 2018

Counterfeit Kit Challenge #2 - And all at once . . .


Today is the blog hop at the Counterfeit Kit Challenge Blog (I have everyone listed below). Challenge #2 is Autumn Equinox - Fall begins! We are to do a project about Fall - Anything Fall related - leaves, apples, cold weather etc.

My layout today is about the fall colors. Sometimes in Minnesota we just get brown leaves but last year we had a beautiful display of fall colors.  I snapped these pictures as we were headed over to the guy's place.


On the backside of the leaf paper is a woodgrain pattern - two for one. I matted the pictures onto brown cardstock then layered onto my pattern paper.  I pulled out a couple of the glittered leaves I made and used one of the acetate picture frames which was in my tin of cast - offs. The black leave in the top has black glitter on it - just not showing well in the pictures. 


I stamped the say in dried marigold and then reinked (not evenly) with gathered twigs so that I got a two tone look. I then cut it apart and inked all the edges with gathered twigs.  The leaves are stamped with dries marigold and rusty hinge and fussy cut.


I sprinkled a few of the wood grain sequins around each of my clusters. 


Here's everyone on the hop: 
Janet -  https://www.youtube.com/channel/UCCMeLWSKaY5s56xAeyiu7bg
Leslie - https://lcsmithsaved-outofthemire.blogspot.com/
Laura -  https://www.instagram.com/mrsp_scrapsandtea/

We love seeing your work, so be sure to share your kits and projects with us. You can do this by using the Link-Up page on the blog, posting the Counterfeit Kit challenge Facebook Community Group or on Instagram(you can find us @counterfeitkitchallenge and share with the #counterfeitkitchallenge).

Thanks for stopping by.

September Counterfeit Kit:
3 - 12x12 Layout
2 - cards

Recipe:
Paper: Recollections - brown  and white cardstock; Echo Park - A Perfect Autumn "lovely leaves"; DCWV - The Timeless Texture Stack
Forgeries on the Fourth: Acetate picture frame; Glittered Leaves
Stamps: Unity Stamp Company - KOTM August 2014 {Summer Collapsed into Fall}
Cricut: Accent Essentials and Everyday Paper Dolls
Ink: Distress Ink - dried marigold, gathered twigs and rusty hinge
Misc.: Adhesive, DIY Labels and Sequins
 

Sunday, November 24, 2013

Autumn Memories Mini Album

Welcome to the CKCB Member's Blog Hop.  This month the challenge was to create a So Thankful Mini Album.  You should have arrived from Dawn. If you just stopped by you can go to the start of the hop by clicking here.  Now my album does not have pictures in it yet but will shortly after Thanksgiving.  I should have lots of  family here for most of Thanksgiving week. 


My November Counterfeit Kit Challenge included a set of paper just for my mini album just as the Jenni Bowlin's October 2013 Kits included a mini album option. For my mini album I'm going to use my Cricut for my pages and I'm using an album from Paisleys & Polka Dots for my inspiration. I just love how she uses various shapes to make a mini album.


I started by cutting the house from Beyond Birthdays. To Cover the front I used DCWV The Timeless Texture Stack then layered various hearts using the George cartridge and the fence is from the Heritage cartridge.  The tag is inked then stamped, embossed and tucked behind the fence.  I added a raffia bow then some left over pumpkins, a few rhinestones, silk leaves and I'm done.  I actually decorate the front of the album last. The does slide out sot that I can journal on the back.


The inside cover has some stamped pumpkins and leaves mounted onto photo corners.  I punched a few of the two smaller size labels for journaling. I added a couple of layers behind the photo mat then a few rhinestones and pearls.


I had a hard time adding elements to the leaf page. I was not happy with the color combination on this paper, it just didn't  match what I had in my stash. I finally just added a few of the punched labels for journaling and called it good.


The back side of the leaf was much easier.  I had a few stamped leaves left over and added them in here. One is clear embossed and the two in the lower corner has stickles on them.  I did use pop up dots on the leaves.  I cut the shank off of the buttons then glued them to the page.

The front of the scallop page is has some hand cut banners, a few rhinestones, and a pre-punch curvy label for journaling.


The back of the scallop page I used more left over paper.  The scalloped orange and yellow paper was a left over piece of the edge of a pattern paper.  I thought it was perfect here
. 

For the acorn I used the front and back of this paper.  This is one I added to the kit and I do not know the name of it.  I had a little bit of trouble cutting this side as I forgot to flip the design before I cut so I needed another sheet of paper.  A few buttons and a stamped frame finish off the page.


The back of the acorn I think is my favorite page.  I just love how the scarecrow stamped image turned out. I have the scarecrow on pop up dots and the frame is not glued down on the left side so that a photo can slide under. I used the bird punch and just offset the brown layer for a shadow effect. 


For the last page I used some more of the raffia and some scraps.  The punched label at the bottom of the page only has the bottom portion attached so that a photo can slide underneath. 


The back page is the back side of the Pink Paislee 365 Degrees "Daydream" paper.  I was intending to use the orange side but liked blue side better. 


Thanks for joining me on the  Novembers CKCB Members Blog Hop.  Your next stop is Angela.

If you get lost along the way you just need to head back to the  Counterfeit Kit Challenge Blog to find your way back onto the hop.  I've also listed all of the participants below.


Angela http://colestoucan.blogspot.co.uk  (Next Blog)


Recipe:
Paper: Jenni Bowlin - Lemonade, Bo Bunny - Little Boy Blue - Gingham, My Mind's Eye - Miss Caroline, K&I - Peach Pit Pop Culture, Pink Paislee - Day Dream, House of Three - Music and Trellis, Crate Paper - Cottage Collection Rose Garden, Basic Grey - Lemonade Strawberry patch; Added to kit: DCWV The Timeless Texture Stack, various pieces of scraps from my scrap pile for the elements.
Cricut Cartridges: Beyond Birthdays, Heritage, Paper Dolls for Everyday, Mini Monograms,  B is for Boy, CTMH Art Philosophy, George.
Stamps: Unity Kit of the Month /august 2013 {cozy moments} and
Ink: Inkadinkadoo - burgundy; Stampin' Up - wild wasbi, pumpkin, Stazon - brown and black
Punch: EK Success - labels, Scroll dots; Stampin' Up - Spiral Border Scallop Trim; Martha Stewart - Birds on a wire, photo corners.
Embossing Folder: Stampin' Up - Designer Frame
Misc.: Zot, pop up dots, adhesive, glossy accents, rhinestones, pearls, buttons, various trims, embroidery yarn and floss, silk leaves, Xyron, raffia.

Tuesday, May 3, 2011

Hop To It. . .

Here is the second set of double page layouts from the Piggy Tales Kit.

I made the pages really simple as the background paper has a lot going on. The "Hop To It" was one of the many rub ons that came in the kit and works perfectly as a say on the bottom of the small mat.


The ribbon I used on the tag was not included in the kit and is a scrap from another project. I used pop up dots behind the tag so that the photo could slide behind it.

Thanks for stopping by. Click here for the cut file.

Recipe:
Paper: Piggy Tales Kit, DCWV cardstock
Ink: Inkadinkadoo - Coffee Bean
Punch: Marths Stewart - Swirling Lace
Cricut Cartridges: George, Paper Dolls for Every Day, Tags Bags Boxes and More
Misc: Ribbon, pop up dots and adhesive

Saturday, November 20, 2010

Happy Thanksgiving

I wanted to share a really cute Thanksgiving Card that I did. This one was all cut from my Cricut and has a lot of layering with the pumpkins and the corn stalks.


I left the back of the tag blank so that I could write a note on the back.

Here's a side view.

Thanks for stopping by.
Click here for the cut file and yes it can be cut with the bug.

Recipe:
Cardstock: Brown, orange, green, white, yellow, green
Cricut Cartridges: Fabulous Finds, Paperdoll Dress Up, Paperdolls For Everyday, Tags Bags Boxes and More.
Ink: Inkadinkadoo - Olive Green, Coffee Bean, Ochre
Misc: brads, ribbon, yarn, red line tape, glue, pop up dot

Tuesday, October 19, 2010

Fantabulous Cricut Challenge - Falling Leaves

This weeks challenge at Fantabulous Cricut Challenges is Falling Leaves - to use at least one leaf on your project.

I just love the detail of the leaf on A Child's Year Cartridge so I am using that one make my Thanksgiving card. The frame is made from the George Cartridge.

Here is the inside of the card.

Thanks for stopping by.
Click here for the cut file.
Recipe:
Paper: Seasons Stack - Patterned Paper, Cardstock, white, dark blue, yellow, maroon, green, kraft
Stamp: Stampin Up - Bright Blessings
Ink: Inkaadinkado - Burgundy and Navy Blue
Cricut Cartridges: A Child's Year, George, Paper Dolls for Everyday,Wild Card
Misc: Pop up dots, glue.

Tuesday, June 15, 2010

Father's Day Card - Golfer

Here's my second Father's Day card. I again used the circle card from Wild Card as my base. The golf card is from Paper Dolls for Everyday. I cut this three different time, white, tan and black card stock. The black is my base and I didn't alter it in any way. The white I cut off the seat and around the wheels, and colored in the steering wheel and column. From the tan I cut out the seat. The silver rims I used a circle punch. I colored in the steering wheel by hand. These are pop doted on the black base.

I kept the "Happy Father's Day" side of the card the same as the previous one.


For the inside of the I used the golf ball from the Sports Mania. The golf ball and tee are one cut, I just didn't use the tee. The golfer is also from Sports Mania and I cut him in blue, red, brown, and white. White is my main layer. I cut the baseball cap out of blue, shoes out of brown, shirt out of red and layered them all onto the white cut. I colored the club silver. The blue pants was a separate cut along with the shadow in black.
Recipe: Paper: Golf Card- tan, white, small piece of silver, and black, Golfer- white, blue, red, brown, white card stock for the golf ball, green for the inside of the card, blue for "Happy Father's Day" and white for around " Happy Father's Day", card base was from Old World Stack.
Click here for the cut file.

Monday, May 3, 2010

1st Birthday 8x8 Layout

I used the same elements from the previous post to make this layout for an 8x8 album. I used Design Studio for the layout of all the pages, except for the 4 4x6 pages. Those I cut by hand and are not included in the cut file. Page 1 will hold two 3x5 photos.


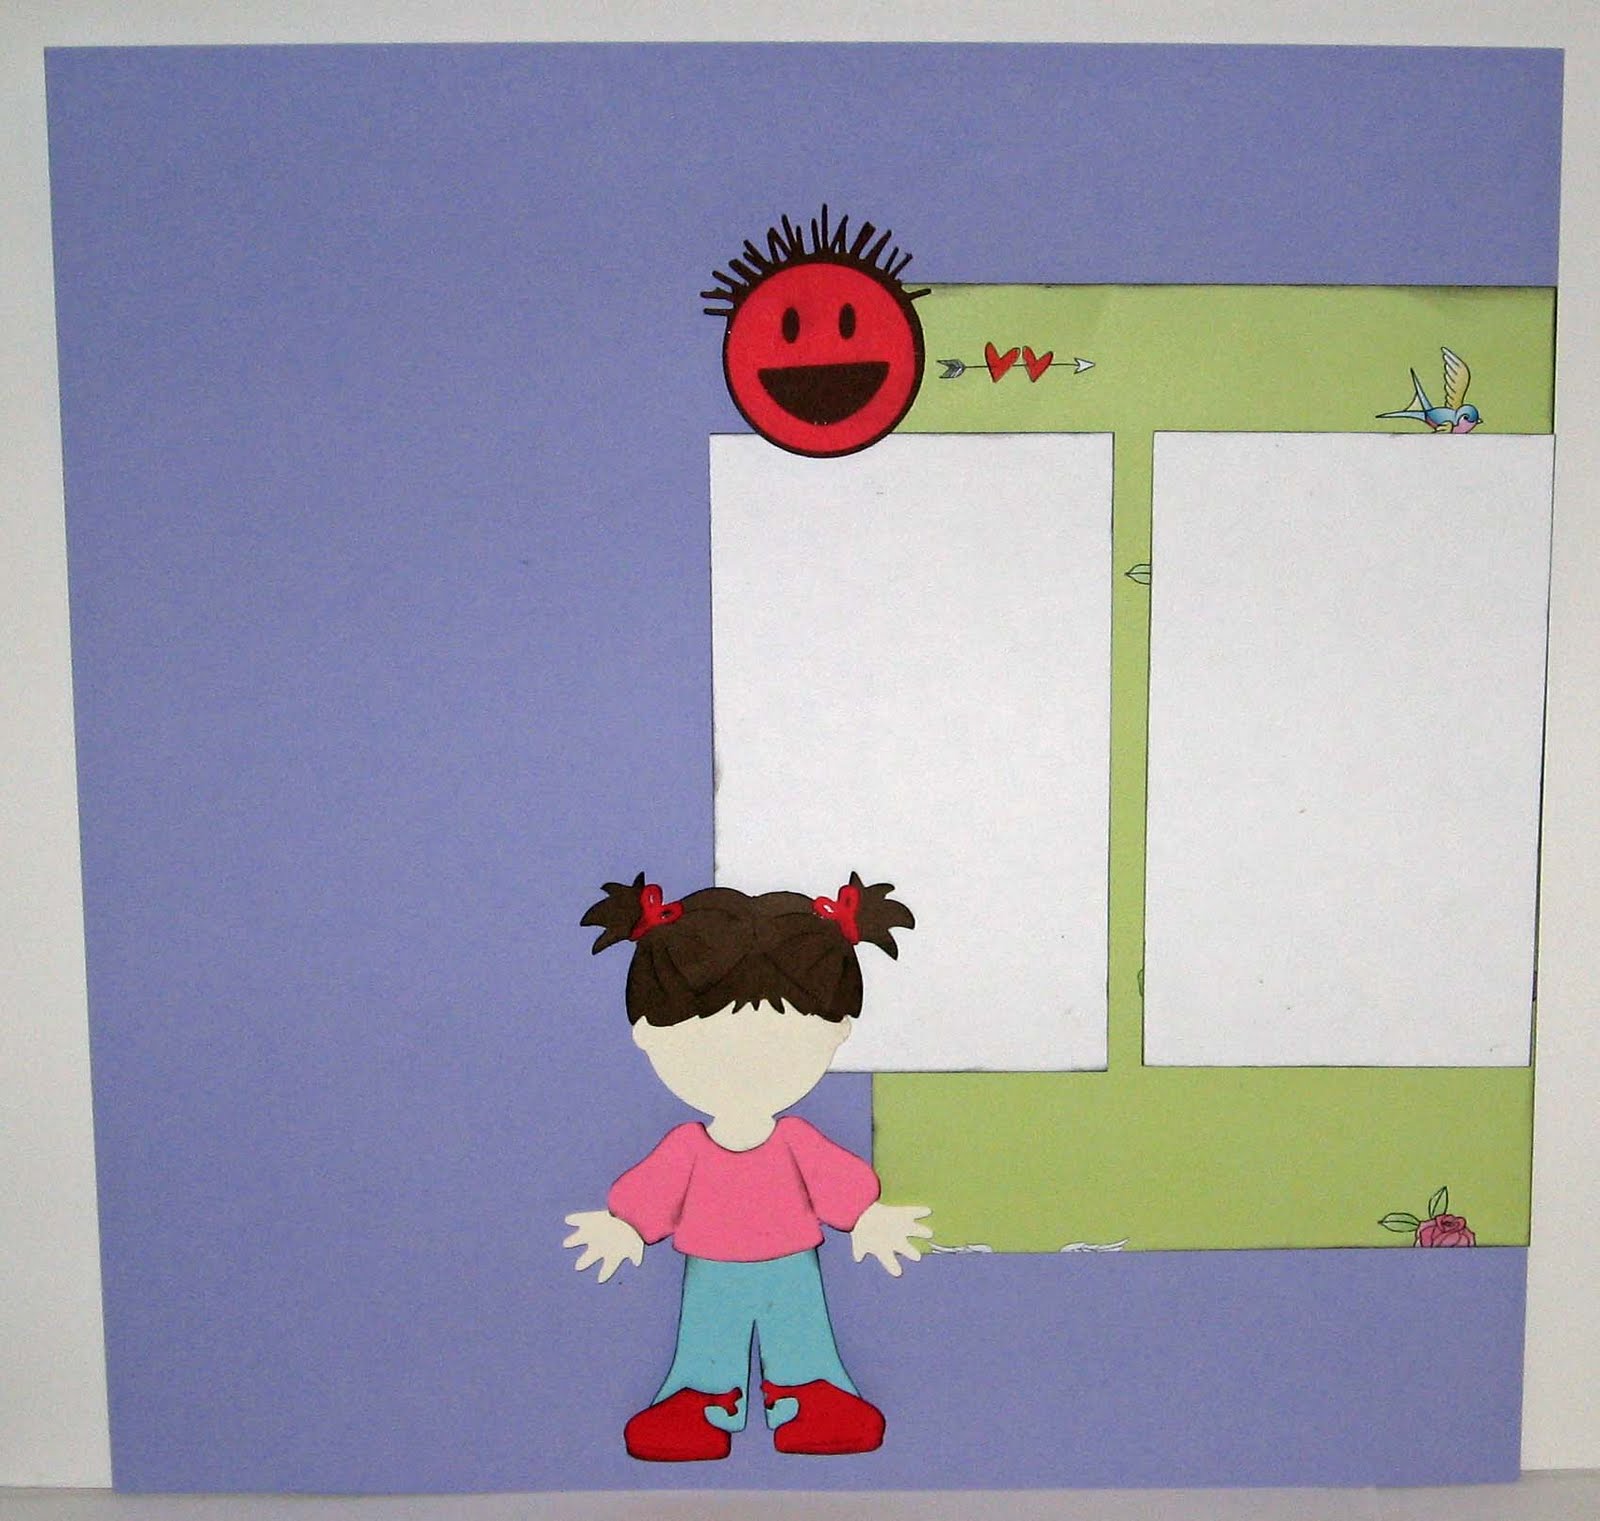
I have inserts that are 4x6 and used the "1st birthday on one, the wild haired smiley face on two of the 4x6 pages and the bottom of the "one" word art on the 4th 4x6 page.


The last page has the word art and will hold a 5x7 photo. The paper dolls have pop dots behind them so that the pictures can fit behind them. The "one" word art I hand just to fit the page.


Click here for the 8x8 cut file.

Sunday, May 2, 2010

1st Birthday - 2 pager

On Fridays Stuck On U Sketches post a new challenge and this weeks was a double page layout. I've been following their blog for a couple weeks now and just love all the inspiration those gals have. I also posted on the Cricut Message boards for the Cartridge Exploration which was Graphically Speaking.
I need to make a couple of Birthday pages and decided to use the sketch for this layout. I used Design Studio to design the whole 2 page layout. I have pop up dots behind the wild haired smiley faces and the paper dolls. The photo mats on the first page will hold 3x5 photos with a 1/4 inch border and the second page is a 5x7 photo.


Then I had to make a girl one. I just love how the paper dolls turned out. I had everything put together before I realized that I for got to put faces on the dolls.

I used Graphically Speaking for the "One" background layer and the wild haired smiley face.
Paper Dolls for Everyday for the boy and girl
Accent Essentials: label
Plantin Schoolbook: 1, st, birthday (st and birthday are welded together.
George: Photo mats and background layers.
Click here for the cut file.