Showing posts with label Stand and Salute. Show all posts

Monday, August 12, 2013

Stars and Stripes

After I made my 4th of July Layouts for the Guy's I had a bunch of fireworks already cut out from making my background paper. (Remember you can click on the picture to see the detail).


I took my white fireworks and misted them in the same colors I used before and let them dry. I stamped the red and blue flag pieces, cut them out and attached them to toothpicks.  The star is embossed with white embossing powder, then cut out and attached to the toothpicks. I stacked the red and blue fireworks and only attached the top part so that a picture can slide underneath them. 


 The yellow firework and the photo mats on the right side are on pop up dots. I punched small strips of the misted paper to use at the top and right side of the layout. I stamped "date" onto white cardstock and punched it out, then layered it onto the orange cardstock.  It is glued to the black punched decorative label only on the left side so that a photo can slide behind it. 


I punched three photo corners out of the glimmer misted squares - top left, bottom left and bottom right.  The journaling spot is another glimmer misted square from the prior 4th of July layout.


I was able to use a few of the fireworks, the rest are in a baggie in my basket waiting for another project.  In case you missed it, you can see the 4th of July layout here.

Thanks for stopping by.

Recipe:
Cardstock:  Recollections - white, black and orange; DCWV - The Heirloom Stack, Kraft and gray;
Stamps: 7 Gypsies - Smash book stamp; Hero Arts - Stars and Stripes
Cricut: Stand and Salute
Ink: Stampin' Up - Riding Hood Red, Brilliant Blue; Embossing Ink
Punches: Martha Stewart - Photo corner; EK Success - Starry Night; Stampin' Up - Word Window, Decorative Label
Glimmer Mist: Tattered Angels - Yellow Daisy, Jazzy Blue; Red - home made.
Misc: Adhesives, pop up dots, toothpicks, scissors, white embossing powder

Sunday, July 14, 2013

4th of July

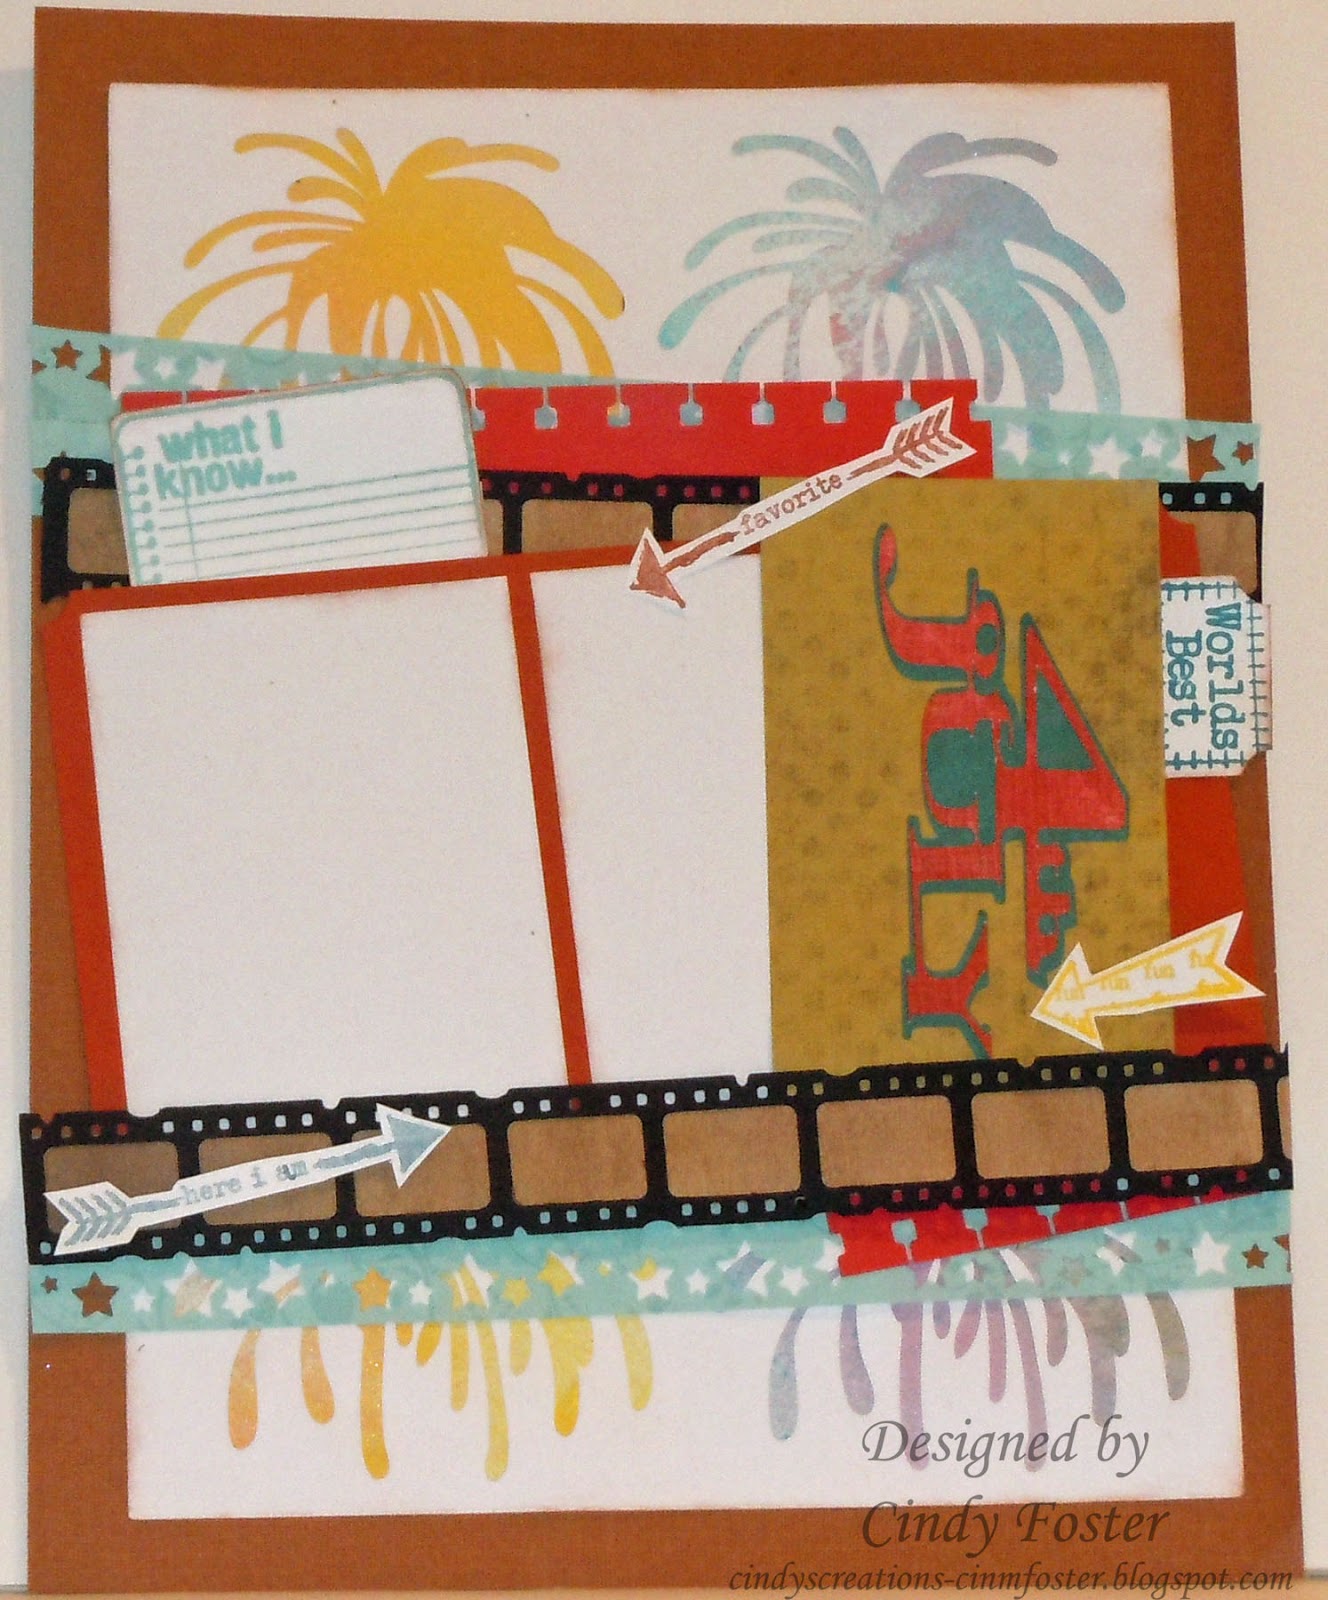
Here's a couple of layouts for my Guys' albums.  I used the 213 in 2013 Challenge at Two Peas In a Bucket for these layouts.  I've been working on pages for other people and needed a break from it.  The guys will add the photos to their layouts so I used white card stock where the photos go. 
 

I started out using my Cricut cut the fireworks outs of white card stock.  I then glimmer misted another piece of white card stock with yellow, red and blue, cut strips to fit behind my firework mat and glued everything to a piece of brown card stock.  I then started the layering process. 

 
The photos just do not do them justice.
 
Out of the five creative prompts I did four on these layouts. 

1. Cut your background with your Silhouette - I used my Cricut.
2. Add texture to using stitching within a design - did not do this.
3. Glue your pictures diagonally - did this.
4. Use a stencil as your main title - cut with my Cricut.
5. Use stamps as embellishments on your layout - used lots of stamps and hand cut them out.

Thanks for stopping by.

Entered in the 213 for 2013 July 8, 2013

Recipe:
Paper: DCWV - The Heirloom Stack, red, and textured brown; Recollections - white, black and orange; Unknown - red
Stamps: Unity Kit of the Month - August 2011 {what I know}, October 2012 {from ours to yours}, November 2012 {so into you}
Ink: Inkadinkdoo - burgundy; Martha Stewart - dark blue, ocean; Versa Mark - Aegean Blue, Coffee Bean; Color Box - Yellow
Glimmer Mist:  Tattered Angels - Yellow Daisy, Jazzy Blue; I made the Red
Die: Tim Holtz - mini filmstrip
Punches: Stampin' Up - Ticket corner, corner rounder, Spiral Border; EK Success - Starry Night
Cricut Cartridges: George and the Basic Shapes and Stand & Salute
Misc.: adhesive, pop up dots

Wednesday, June 12, 2013

Let Liberty Ring

Hi everyone and welcome to the continuation of the Country's Birthday at the Card A Day Blog.  Well I've been saving this piece of blue stars on the red paper for a layout and just haven't used it so I decided I would use it with the Liberty Bell for my card.  I combined it with the red metallic paper that I embossed with the stars folder.

 
The Liberty Bell is cut from the Stand and Salute Cartridge.  I cut it out of a scrap of DCWV silver metallic paper then inked it with burgundy ink to make it a little bit aged.  I added a blue ribbon at the bottom of the page.


I cut the stars paper again for the inside of my card then added a white journaling mat cut so there is a star border around the mat.

Thanks for stopping by.

Cutting Instructions:
Card Base: Blue Card stock - 8 1/2" x 5 1/2",  scored at 4 1/4"
Star Embossed layer: 4" x 5 1/4" then embossed


Recipe:
Paper: Cardstock - Recollections - blue and black; DCWV - silver; Unknown - red metallic, blue and red stars
Ink: Inkadinkadoo - burgundy
Ribbon: American Crafts - Denim
Cricut Cartridges: George and the Basic Shapes, Lacey Labels and Stand and Salute.
Embossing Folder: Cuttlebug - Stars

Tuesday, March 6, 2012

Delployment Ceremony layouts

Well I missed the last challenge for the ScrapBookClasses layout challenge - but I made this one.   Here is the sketch we are suppose to use.
 
When I first saw it I thought there was only two pictures and not three.  I had printed off some pictures of a wedding we were at last year and then saw the third picture so I changed and printed out pictures from the Deployment ceremony from May.   I picked up this Teen Angst paper pack specifically for my guys as it is really reminds me of them. 


I cut the flag out sever times then did a little bit of fussy cutting to the pieces back together.  The change on the dog tags is the pearls on a string you find in the floral department in a container.  I just used silver ink and Utee on it.  Be careful that you don't melt you pearls.


I did ink all the pieces in brown ink except for the background paper from Teen Angst.  I used two pieces of that and cut it so that it flows from one page to the next.  I inked these pieces in black.

Click here for the cut file.

Recipe:
Paper: We R Memory Keepers - Teen Angst; Recollections - Brown, black cardstock; Scraps of  silver, vellum, red, white and blue
Ink: Color Box - Silver, Inkadinkadoo - Coffee Bean; Versa Magic - Midnight Black
Cricut Cartridges: A Child's Year, George, MS All Occasions, Stand and Salute
Misc: adhesive, pop up dots, foam tape, string pearls, Utee

Wednesday, October 7, 2009

Son

This is similar to the Daughter layout except I used the star from Indie Art to make a Star Flower. I sponged each star with Color Box ink then used Stickles on each star. The rest of the stars are cut from George and Stand and Salute cartridge. I inked some of them and used stickles on some. Son was cut from the Plantin Schoolbook cartridge. This is another layout that will can be cut with the 6x12 mat.


Here is a close up of the Star Flower.


Click here for the Son Layout cut file.


Recipe: Paper: Brown, blue and dark blue Cartridges: George, Indi Art, Plantin Schoolbook, Stand and Salute Misc: Colorbox ink cyan, Stickles Waterfall, glue, pop up dots,